Topic: BatzG - Anzac
The Battle of Anzac Cove
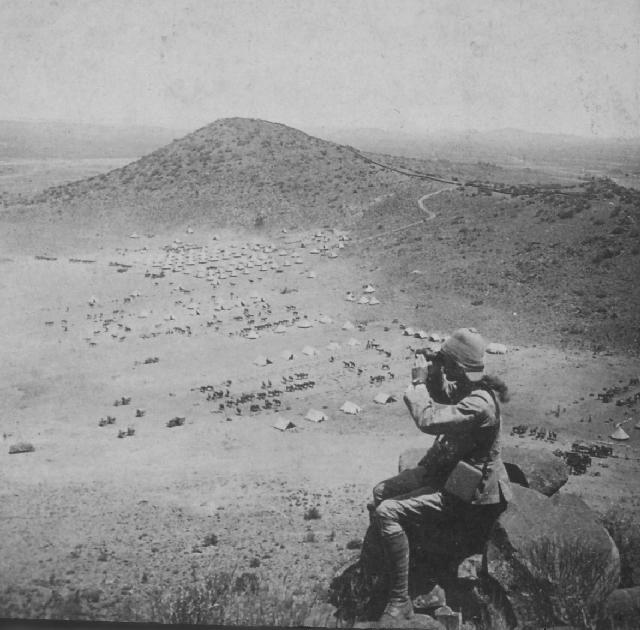
Gallipoli, 25 April 1915
Roll of Honour
10th Infantry Battalion, AIF

Poppies on the Roll of Honour, Australian War Memorial, Canberra
The Roll of Honour contains the names of all the men from the 10th Infantry Battalion known to have served and lost their lives during the Battle of Anzac, 25 April 1915.
Roll of Honour
Harry ANTRAM, 10th Infantry Battalion.
Charles James BACKMAN, 10th Infantry Battalion.
Frank BATT, 10th Infantry Battalion.
Harrold Frederick BLACK, 10th Infantry Battalion.
John Stirling BOWDEN, 10th Infantry Battalion.
Albert John BYRNE, 10th Infantry Battalion.
Frank Samuel CROWHURST, 10th Infantry Battalion.
Alfred CROWTHER, 10th Infantry Battalion.
Frank Leopold DASHWOOD, 10th Infantry Battalion.
Alfred DAVIS, 10th Infantry Battalion.
Leslie Frank DILLON, 10th Infantry Battalion.
Charles John FALK, 10th Infantry Battalion.
George Clement FERRETT, 10th Infantry Battalion.
Edward William FITZGERALD, 10th Infantry Battalion.
William James GIBBONS, 10th Infantry Battalion.
Anthony Simpson GILPIN, 10th Infantry Battalion.
Albert GLATZ, 10th Infantry Battalion.
Kenneth Douglas GORDON, 10th Infantry Battalion.
John Lewes Davison GOWER, 10th Infantry Battalion.
Keith Eddowes GREEN, 10th Infantry Battalion.
Percival Charles GREENHILL, 10th Infantry Battalion.
Sydney Raymond HALL, 10th Infantry Battalion.
John HANCOCK, 10th Infantry Battalion.
John HOLDEN, 10th Infantry Battalion.
Charles Lawrence HUNT, 10th Infantry Battalion.
George Henry Stuart HUNTLEY, 10th Infantry Battalion.
William KELLY, 10th Infantry Battalion.
George Austin KING, 10th Infantry Battalion.
Samuel LEECH, 10th Infantry Battalion.
James Llewellyn LEWIS, 10th Infantry Battalion.
Wilfred Francis Huggett LODGE, 10th Infantry Battalion.
Harold Osborne MANSFIELD, 10th Infantry Battalion.
Michael MCCAFFREY, 10th Infantry Battalion.
Albert MCCONNACHY, 10th Infantry Battalion.
Alexander MCCUBBIN, 10th Infantry Battalion.
George Buchanan MCEWAN, 10th Infantry Battalion.
John Sloan MCLINTOCK, 10th Infantry Battalion.
William Henry MUNRO, 10th Infantry Battalion.
Edward Castle OLDHAM, 10th Infantry Battalion.
Ambrose Stanley PEARCE, 10th Infantry Battalion.
James Willis PLUMMER, 10th Infantry Battalion.
Patrick Thomas PYNE, 10th Infantry Battalion.
Frederick Charles REID, 10th Infantry Battalion.
Hurtle Charles SHAW, 10th Infantry Battalion.
Cyril Charles SMITH, 10th Infantry Battalion.
Peter Vincent SMITH, 10th Infantry Battalion.
William Millar SMYLIE, 10th Infantry Battalion.
William Andrew STRANG, 10th Infantry Battalion.
Herbert Morton TAYLOR, 10th Infantry Battalion.
George Oliver WHITE, 10th Infantry Battalion.
Thomas Anderson WHYTE, 10th Infantry Battalion.
Frederick Charles Erasmus WILKINSON, 10th Infantry Battalion.
Roy WYLD, 10th Infantry Battalion.
Lest We Forget
Further Reading:
The Battle of Anzac Cove, Gallipoli, 25 April 1915
Gallipoli, 25 April 1915, 3rd Infantry Brigade, Roll of Honour
Battles where Australians fought, 1899-1920
Citation: The Battle of Anzac Cove, Gallipoli, 25 April 1915, 10th Infantry Battalion, Roll of Honour