Topic: AAC-Photo Albums
Australian Service Personnel
Photograph Albums
The Battle of Hill 60, Gallipoli, August 1915, Album Contents
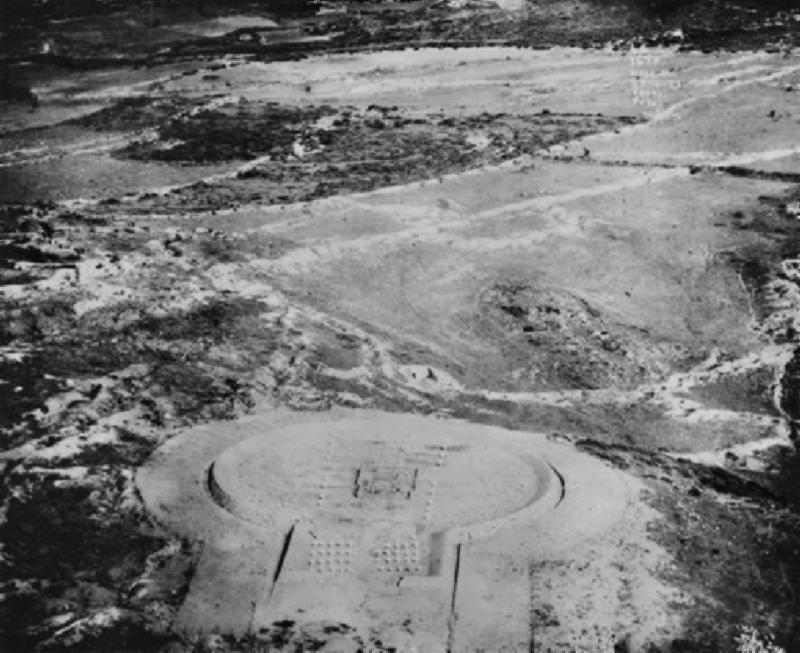
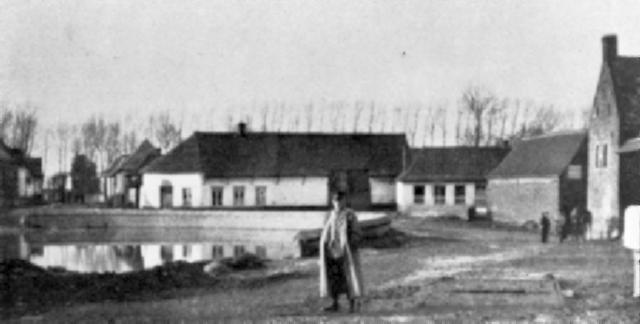
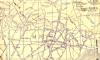
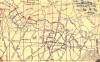
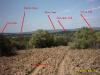
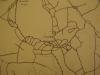
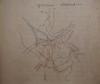
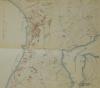
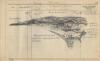
Hill 60, Gallipoli, from the air in 1923.
Hill 60, a low rise on the north-western approaches to Hill 971, which on 21 and 27 August 1915 became the focus of several badly handled attacks which resulted in costly and confused fighting that marked the end of the last major offensive at Gallipoli. The operation was undertaken in an attempt to widen and strengthen the corridor of foreshore which connected newly landed British forces at Suvla Bay with the established beach-head at Anzac. While elements of the Suvla force concentrated on seizing a detached foothill of the range behind that beach-head known as the `W Hills', troops from the Anzac position were to capture Hill 60, a low rise on the north-western end of the foothills leading to Hill 971 - thereby effectively enabling the two forces to link up.
This album comprises maps and photographs extracted from the various sources. Most maps are posted twice, the first post being a full sized document while the second is of smaller size noted with an "s" at the end of the link.
Each item should be read in conjunction with the specific War Diaries which are available here:
AIF War Diaries
Items:
Page 1
Hill 60, Gallipoli, from the air in 1923
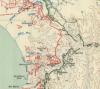

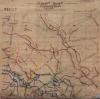
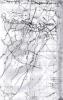
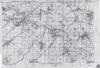
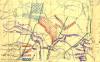
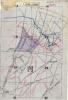
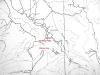
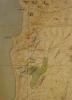
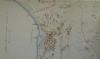
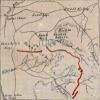
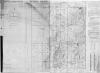
Trench Map, Gallipoli, 1 September 1915, highlighting the region around Hill 60
Trench Map, Gallipoli, 1 September 1915, highlighting the region around Hill 60 s
Page 2

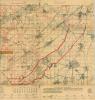
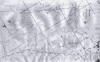
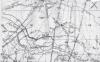
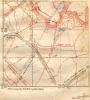
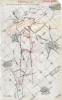
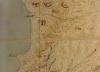
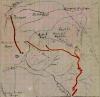
Trench Map, North Anzac, 2 October 1915, highlighting the region around Hill 60
Trench Map, North Anzac, 2 October 1915, highlighting the region around Hill 60
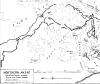
Hill 100, features highlighted
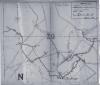
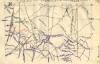
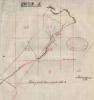
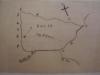
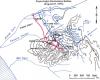
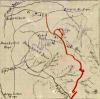
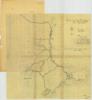
Map of Hill 60 from the War Diary of the 29th Infantry Brigade, 10th (Irish) Division
Map of Hill 60 from the War Diary of the 29th Infantry Brigade, 10th (Irish) Division s
Page 3
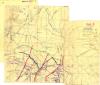
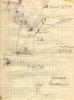
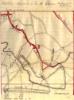
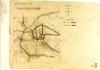
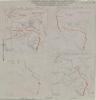
Trench Map of Hill 60 drawn by Colonel JM Antill, August 1915
Trench Map of Hill 60 drawn by Colonel JM Antill, August 1915 s
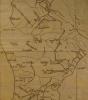
Turkish Officer's Map of Allied and Turkish positions, May 1915, highlighting North Anzac
Turkish Officer's Map of Allied and Turkish positions, May 1915, highlighting North Anzac s
Page 4

Page 5
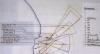
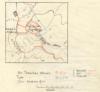
Action Maps around Hill 60, 11 August 1915
Action Maps around Hill 60, 14 August 1915

Action Maps around Hill 60, 21 August 1915
Action Maps around Hill 60, 29 August 1915
Sketch of North Anzac, July 1915 s
Further Reading:
Australian Service Personnel, Photograph Albums
Hill 60, Gallipoli, 22 - 23, and 27 August 1915
The Battle for Hill 60, Gallipoli, 22 - 23, and 27 August 1915, Roll of Honour
Battles where Australians fought, 1899-1920
Citation: Australian Service Personnel, Photograph Albums, The Battle of Hill 60, Gallipoli, August 1915, Album Contents