


Topic: AIF - 1B - 3 LHR
The Battle of Beersheba
Palestine, 31 October 1917
3rd LHR, AIF, War Diary Account
War Diary account of the 3rd LHR, AIF.
The transcription:
30 October 1917
AslujJoined up with Brigade and moved off at 1930.
31 October 1917
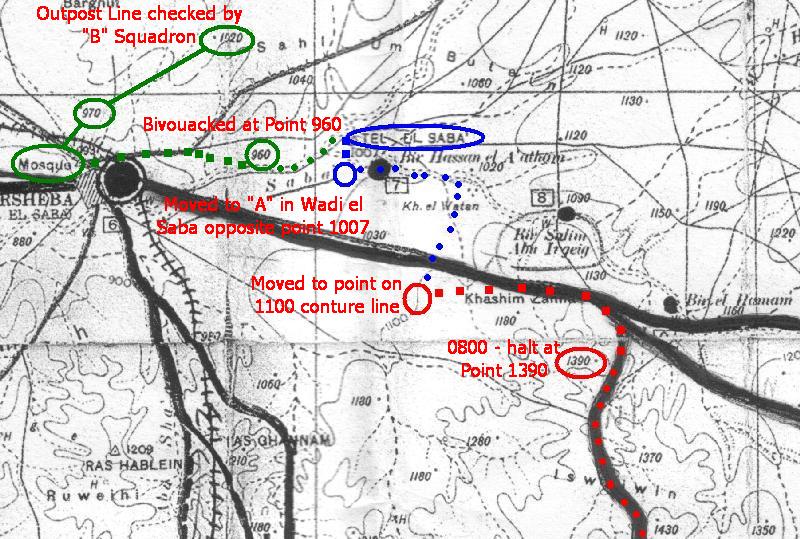
Trekked till 0300 when horses were fed and a halt of 1/2 an hour was made. Having resumed our journey a halt was made at point 1390 at 0800.
Tel el Saba
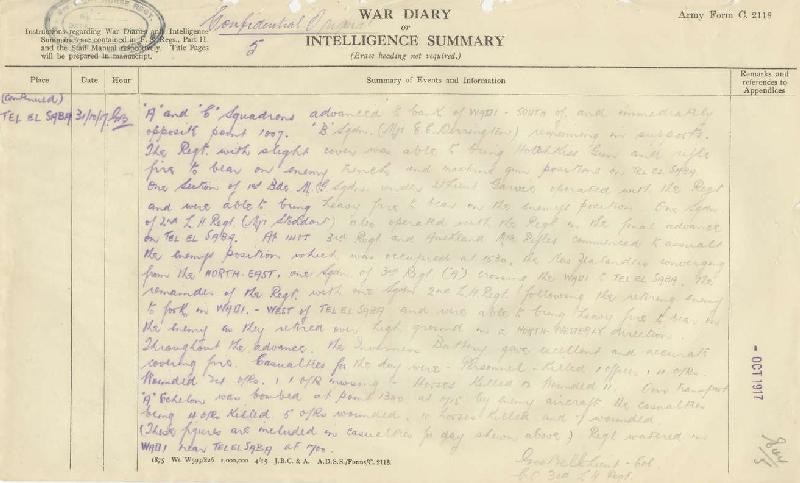
"A" Squadron (Major Archibald Dick) and "C" Squadron (Captain William Thomas Tackaberry) pushed forward - their objective being Tel el Saba which was strongly held by enemy machine guns and rifles. The regiment moved with Brigade to a point on 1100 conture line west of "K" in Khasan Zanna.There received orders to take up a position near Khirbit el Watan. Advance scouts got in touch with the enemy near bend in Wadi Saba - Auckland Mounted Rifles co-operating on our right. Conferred with Commanding Officer Auckland Mounted Rifles at bend in Wadi - south of Tel el Saba and we agreed to attack Tel el Saba. Auckland Mounted Rifles operating north of Wadi and 3rd LH Regiment on south. The Regiment advanced in the open from the point in bend of Wadi to last "A" in Wadi el Saba. The whole of the wadi being swept by enemy machine gun fire.
"A" and "C" Squadrons advanced to bank of wadi - south of and immediately opposite point 1007. "B" Squadron (Major Edwin Cooper Derrington) remaining in support.The regiment with slight cover was able to bring Hotchkiss Gun and rifle fire to bear on the enemy trench and under Second Lieutenant Roy Gordon Garvie operated with the regiment and were able to bring heavy fire to bear on the enemy positions. One Squadron of 2nd LH Regiment (Major Robert Mackey Stodart) also operated with the Regiment in the final advance on Tel el Saba.
At 1400 3rd Regiment and Auckland Mounted Rifles commenced to assault the enemy position which was occupied at 1530, the New Zealanders converging from the north-east, one Squadron of 3rd Regiment ("A" Squadron) crossing the wadi to Tel el Saba, the remainder of the Regiment with one Squadron 2nd LH Regiment following the retiring enemy to fork in wadi west of Tel el Saba and were able to bring heavy fire to bear on the enemy as they retired over higher ground in north westerly direction. Throughout the advance the Inverness Battery gave excellent and accurate covering fire.
Casualties for the day were - Personnel - killed: 1 Officer and 4 Other Ranks. Wounded: 24 Other Ranks; 1 Other Ranks missing. Horses killed or wounded 11.
One transport "A" Echelon was bombed at Point 1300 at 1715 by enemy aircraft the casualties being 4 Other Ranks killed, 5 Other Ranks wounded. 10 horses killed and 7 wounded. (These figures are included in casuatlies for day shown above).
Regiment watered in wadi near Tel el Saba at 1700 whilst watering the Regiment was heavily shelled by enemy.
Regiment formed up under cover at Wadi bank and at 1830 moved down Wadi Saba to Point 960 and bivouaced for night. "B" Squadron (Major Edwin Cooper Derrington) before bivouacking proceeded to outpost line 1020 - 970 - the Mosque to ensure the outpost line was connected and various units were in communication. "B" Squadron returned to camp at 2200 and reported all correct.
Roll of Honour
John Richard BOUNDEY
Robert Raymond DAWSON
Thomas Roydon HOGARTH
Francis KELLY
Walter LITCHFIELD
John OSBORN alias Harry GREEN
Clem Lidsan RANFORD
Morton Reginald SANDLAND
Archibald Stuart TRELIGAS
Henry Charles TROWBRIDGE
Lest we forget
3rd Australian Light Horse Regiment, Roll of Honour
The Battle of Beersheba, Palestine, 31 October 1917
