Topic: Tk - Bks - Air Force
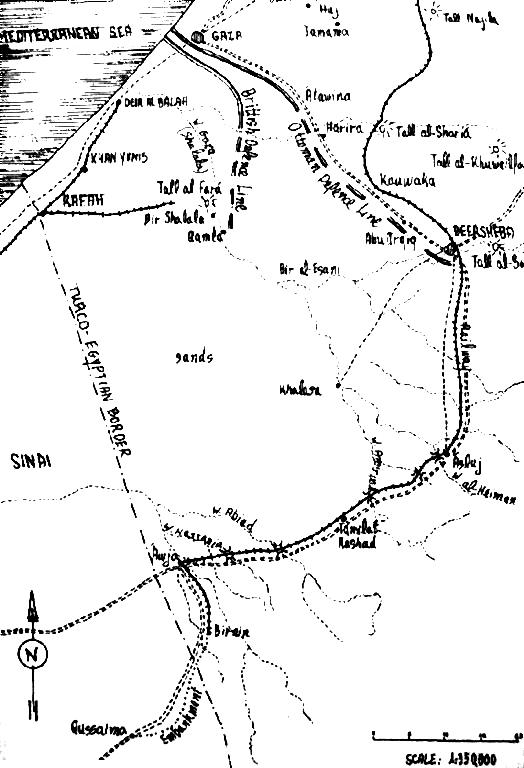
Pasha and Yildirim, the Palestine Front, 1915 to 1918
[From: Ole Nikolajsen, Ottoman Aviation 1911 - 1919, p. 213.]
Part 3 - 3ncü Tayyare Bölük (The 3rd Aircraft Company)
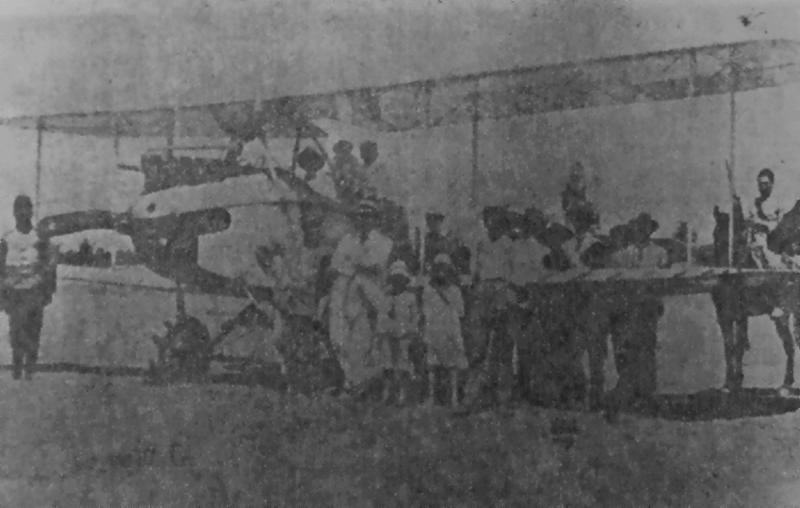
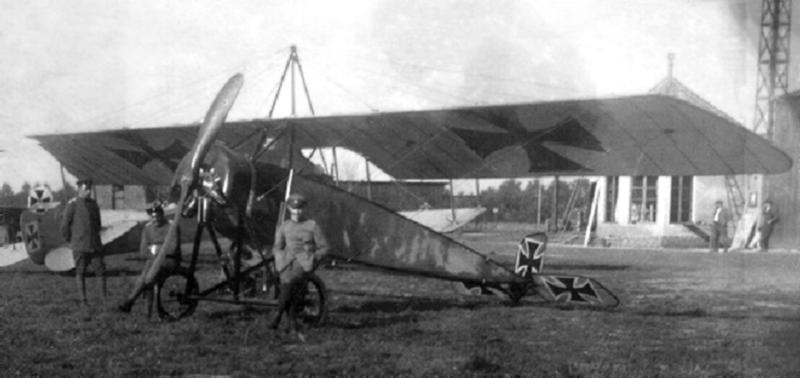
By spring 1916 increasing unrest among the Arab tribes on the Arabian peninsula forced the Turkish Hejaz Command to ask for reinforcements to protect the holy areas. As British aircraft had been reportedly seen in the area a Turkish Aircraft Company was expressly requested. Due to the special religious consequences none of the German personnel already in Palestine could be used. The 3ncü Tayyare Bölük (The 3rd Aircraft Company) was diverted for the task. Originally formed for service on the south Caucasus front was hurriedly issued with 5 Pfalz A.II parasol type monoplanes, numbers P6, P7, P8, P9, and P10. The advance party of the unit left Istanbul on 23 June 1916, taking with them 3 of the aircraft, 2 portable hangars, 50 bombs and 20,000 rounds of ammunition under command of the Commanding Officer, Captain Camil. The support crew included 1 officer, 2 NCO's, 2 mechanics and 97 Other Ranks. The advance party arrived in Damascus on 1 July. The balance of the company arrived two weeks later. Soon the aircraft were readied one by one by the Damascus workshop. One the first test flight, each aeroplane was subject to a forced landing with a faulty engines.
As in the equally hot in Iraq the rotary engines of the Pfalz proved totally unsuitable for the hot climatic conditions.
Specialists from FA300 were called to Damascus, but it was not until later when Captain Fazil, a skilled veteran Turkish flyer trained by Bristol and of exceptional piloting and technical aptitude, was brought in as Commanding Officer that the Pfalz aircraft became reliable enough to fly.
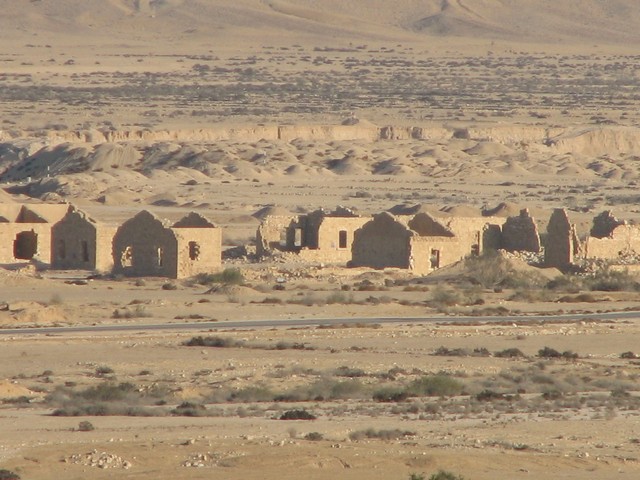
After this unfortunate interlude the 3ncü Tay. Böl. arrived on 3 October 1916 at Medina. Here a relatively large airfield close to the railway station had been prepared. Immediately operations were initiated against [179] the British assisted, rebelling tribes. During the first month, Captain Fazil and Lieutenant Fakir with Lieutenant Kamil as observer flew 14 sorties dropping bombs and darts on Arab camps. This pace was kept up in November with also 14 sorties being flown. On 7 October, Sheik Faisal's headquarters was spotted and the camp attacked. This was continued the following day with a two aircraft attack with Captain Fazil in P7 and Lieutenant Fakir in P10 in which they dropped four 15 kg bombs and three 5 kg bombs.
In November, on the 26th, a long awaited Albatross C.III (AK.28) arrived. Tragically this aircraft was lost the next day when it disintegrated in the due to severe turbulence. The pilot, Lieutenant Saim was killed.
Nevertheless the operations were kept in a high key during December; 3 air-worthy aircraft and 4 crews being available. By the end of the year the flight log of 3ncü Tay. Böl. showed that 78 hours had been flown in the fragile parasols under the most difficult conditions. Fortunately at this time three new Albatros C.III's were received from Damascus (AK30, AK40, and AK72) and they soon flew alongside the remaining parasols. The last Pfalz A.II flight was made by Captain Fazil in P7 on 7 March 1917. During their stay in the desert of Arabia the five Pfalz's logged 150 flying hours.
Meanwhile two additional Albatrosses, AK4(a C.I) and AK31, had been received. During March, 8 sorties were flown by these machines. Soon however it was seen that also this type of aircraft did not perform well in the dry and hot climate. As replacements Rumpler C.I's double coolers were promised, as some had been made available from FA300.
During the summer of 1917 the Arab "hit and run" attacks on the Hejaz railway line became increasingly felt in Medina as vitally needed supplies for the aircraft unit could not get through. As a consequence the headquarters and main force of the 3ncü Tay. Böl. was moved to Maan on 1 August 1917. This move placed the unit under the command of the 4th Army, covering the area east of the Jordan River. The main duty of the aircraft company now became aerial protection of the railway line, although a detachment of a single Albatros was kept at Medina.
Meanwhile the first two Rumplers, R1847 and R2627, were ready at Maan and the first operational flight was performed on 2 August 1917. The next months saw daily reconnaissance flights performed over and in the vicinity of the railway. This proved a very successful means of keeping the Arab bands away. In this period also [180] occasional flights towards and attacks on Aqaba were made. In November another 4 Rumplers were received and the 3ncü Tayyare Bölük was split into 4 detachments:
Medina - 3 Albatros C.III's (AK30, AK40, and AK72) and 1 Rumpler C.I (R2627);
Maan - 1 Albatros (AK31) and 3 Rumplers (R1150, R1837, and R1847);
Dera - 1 Albatros(AK4) and 1 Rumpler (R2626); and,
Damascus - 1 Albatros (AK59) and 2 Rumplers (R2628, and R2636).
Between September and the end of December 1917 altogether 61 sorties were flown by the 7 pilots (Lieutenants Cevdet, Sakir, Orhan and Sergeant Hasan Fehmi at Medina; Lieutenant Emin Nihat and Sergeant Zeki at Maan; and, Lieutenant Huseyin Husnu at Dera) and 4 observers (Captain Izzettin and Lieutenants Cemal, Osman and Lutfi) of the detachments.
Source: The above extract is obtained from a self published work by Ole Nikolajsen called Ottoman Aviation 1911 - 1919. 3ncü Tayyare Bölük (The 3rd Aircraft Company) comes from Chapter 8, Pasha and Yildirim, the Palestine Front, 1915 to 1918, pp. 179 - 181. The text has been edited to remove errors and make it readable for an English speaking audience.
Further Reading:
German Units - 605th Machine Gun Company
Air War on the Palestine Front, December 1915 to January 1917
Turkish Units - The Ottoman Air Force
Lieutenant Colonel Hüseyin Hüsnü Emir, Yildirim
Go To:
Previous Chapter: Pasha I
Next Chapter: The First and Second Battles Of Gaza
Citation: 3ncu Tayyare Boluk (The 3rd Aircraft Company)