Longreach, 1914
Topic: Gen - St - Qld
Let's have a look at Longreach. This little town was the focus of much patriotic outpouring. This is quite in keeping with its major role in defining and shaping the Australian mateship ethos. It is not for nothing that the Stockman's Hall of Fame is located in this town.
In late August 1914, the clarion bells rang and a parade was set up to allow the whole town the opportunity to express their patriotic fervour.
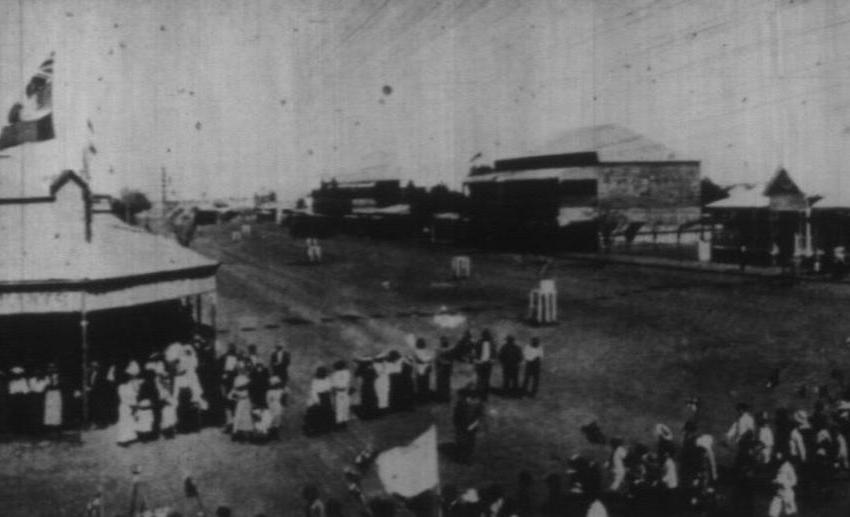
Pic #1: The crowd gathers at the Town Hall in anticipation of the parade. Judging by the numbers, it would not be an exaggeration to suggest that the whole town turned out.
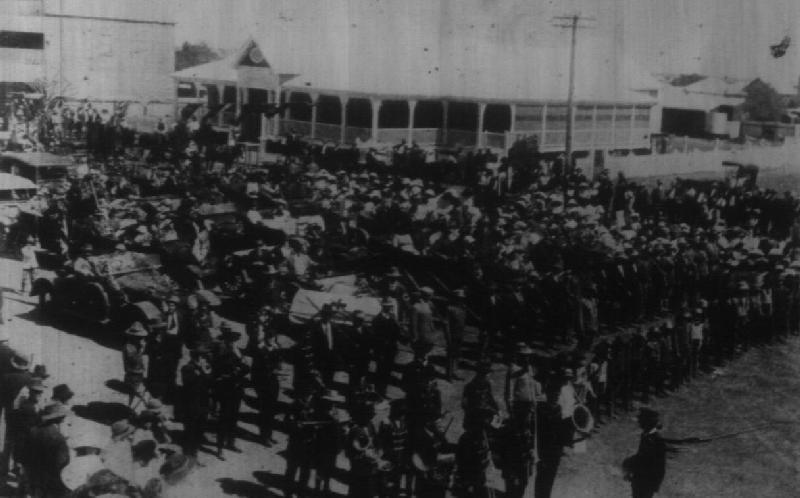
Picture from The Queenslander, 5 September 1914, p. 23.
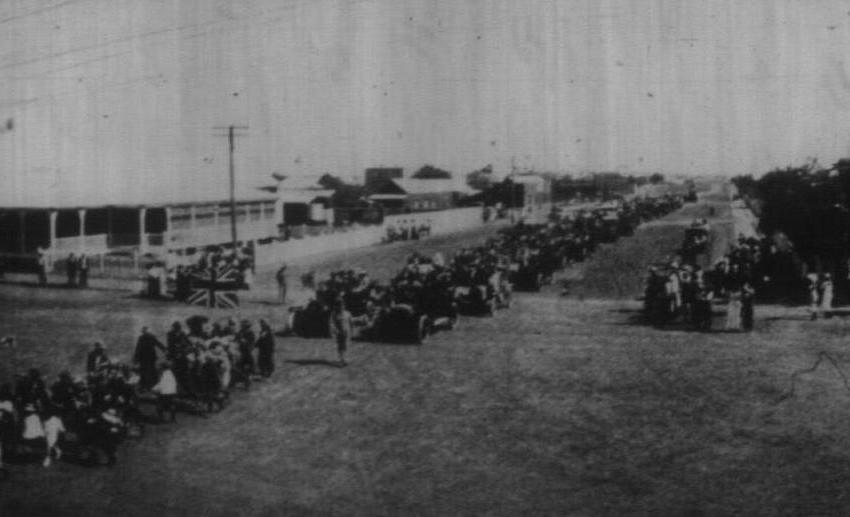
Pic #2: When the town was assembled at the appropriate time, the celebrations began.
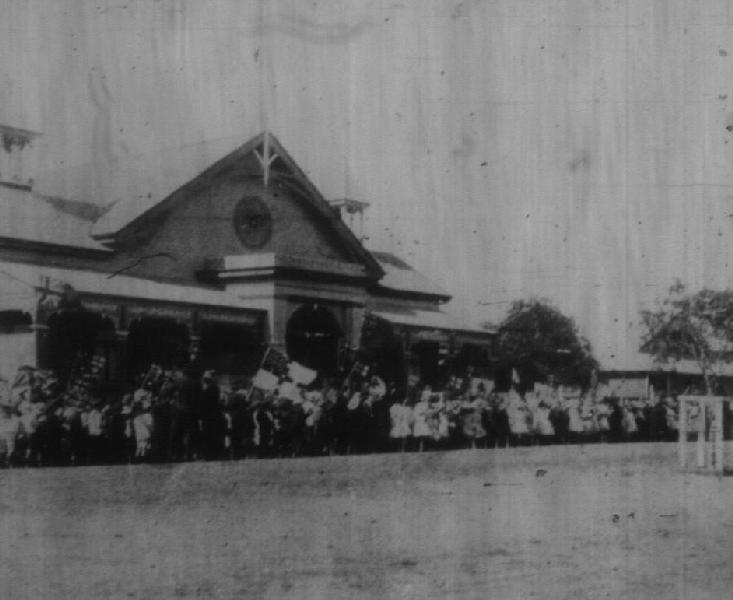
Picture from The Queenslander, 5 September 1914, p. 23.
In front of the scene, sharing pride of place with the band is the Boy Scout Troupe. Behind them is a parking lot filled with cars and buggies with people standing around in all sorts of poses. The band has struck up a tune and they were only awaiting the march past.
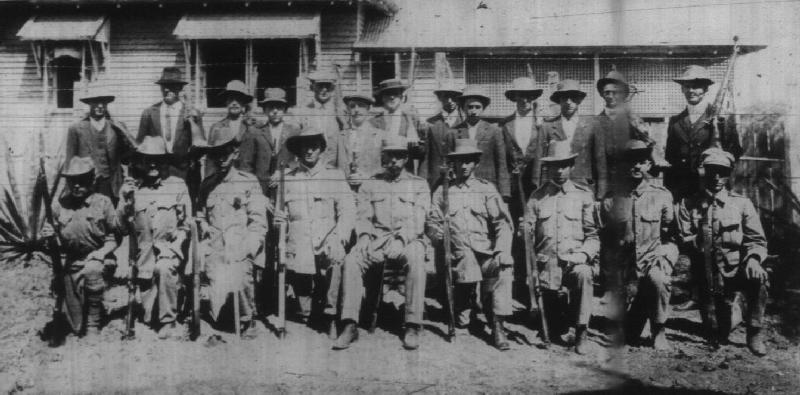
Pic #3: The march past.
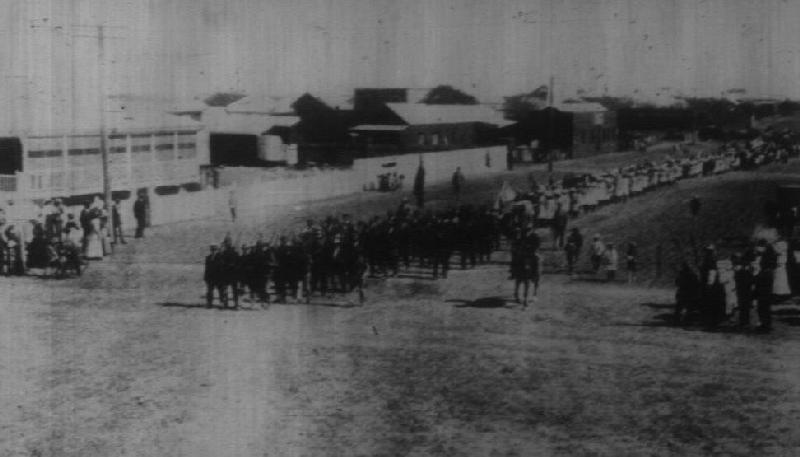
Picture from The Queenslander, 5 September 1914, p. 23. Everyone loves a military parade with all the pomp and circumstance, possibly even the band was playing Elgar's "Pomp and Circumstance No. 2". Following the CMF Company looks like a parade of school children in their white protective coats.
Pic #4: After the celebrations, the Boy Scouts have a Jamboree.
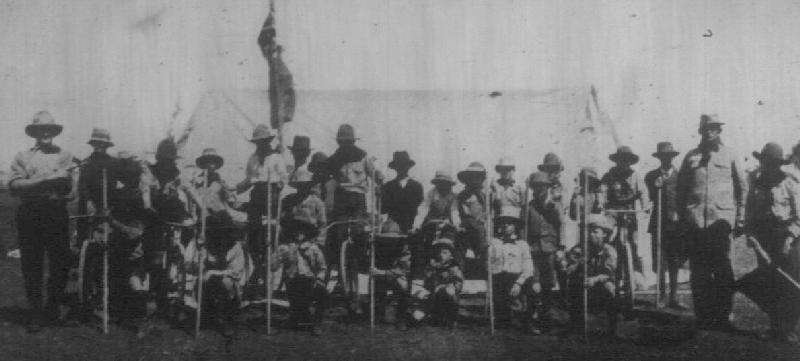
Picture from The Queenslander, 5 September 1914, p. 23.
A fitting end to a day filled with excitement.
Citation:
Longreach, 1914
Posted by Project Leader
at 3:22 PM EADT
Updated: Wednesday, 11 June 2008 7:18 PM EADT